Get in touch
Welcome TO Fast API Blog from Nitesh Synergy
Module 1: Basics & Setup
FastAPI is a high-performance Python web framework used for building APIs, especially RESTful microservices.
It's built on:
Starlette (for the web parts like routing, middleware)Pydantic (for data validation and parsing)Think of it like Flask, but async-native, automatic docs via OpenAPI, and type-hint powered data validation.
Compared to Flask or Django:
| Feature | Flask | Django | FastAPI |
|---|---|---|---|
| Async Support | ❌ (manual) | ⚠️ (partial) | ✅ Native |
| Type Hints | ❌ | ⚠️ | ✅ Full Support |
| Docs (Swagger) | ⚠️ (plugins) | ⚠️ (DRF needed) | ✅ Built-in |
| Speed | 🚶♂️ Slow | 🐢 Medium | 🚀 Fast |
Use cases where FastAPI shines:
A) Either do using any IDE
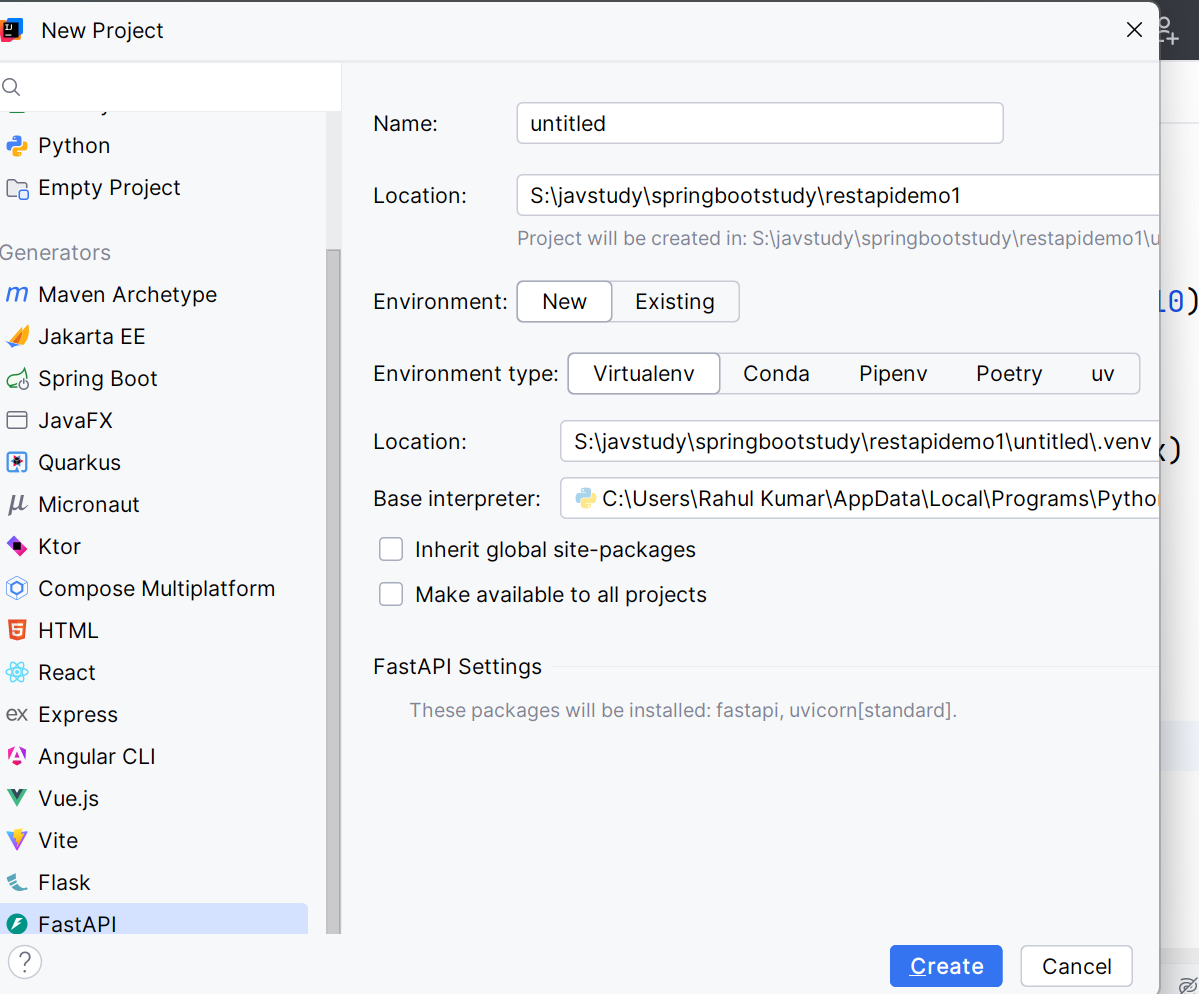
or
B) Using Terminal
# 1. Create virtual environment
python -m venv venv
source venv/bin/activate # On Windows: venv\Scripts\activate
# 2. Install FastAPI + uvicorn (ASGI server)
pip install fastapi uvicorn
# 3. Optional: for DevTools & extras
pip install python-dotenv[cli] httpx
# main.py
from fastapi import FastAPI
app = FastAPI()
@app.get("/")
def root():
return {"message": "Hello from FastAPI"}
Run it:
uvicorn main:app --reload
Now visit:
Using IDE

fastapi_app
├── main.py # Entry point
├── app/
│ ├── __init__.py
│ ├── api/
│ │ ├── v1/
│ │ │ └── routes.py # Routes
│ ├── core/
│ │ └── config.py # Settings
│ ├── models/
│ │ └── user.py # Pydantic Models
│ ├── services/
│ │ └── logic.py # Business logic
│ └── db/
│ └── session.py # DB sessions
├── requirements.txt
└── README.md
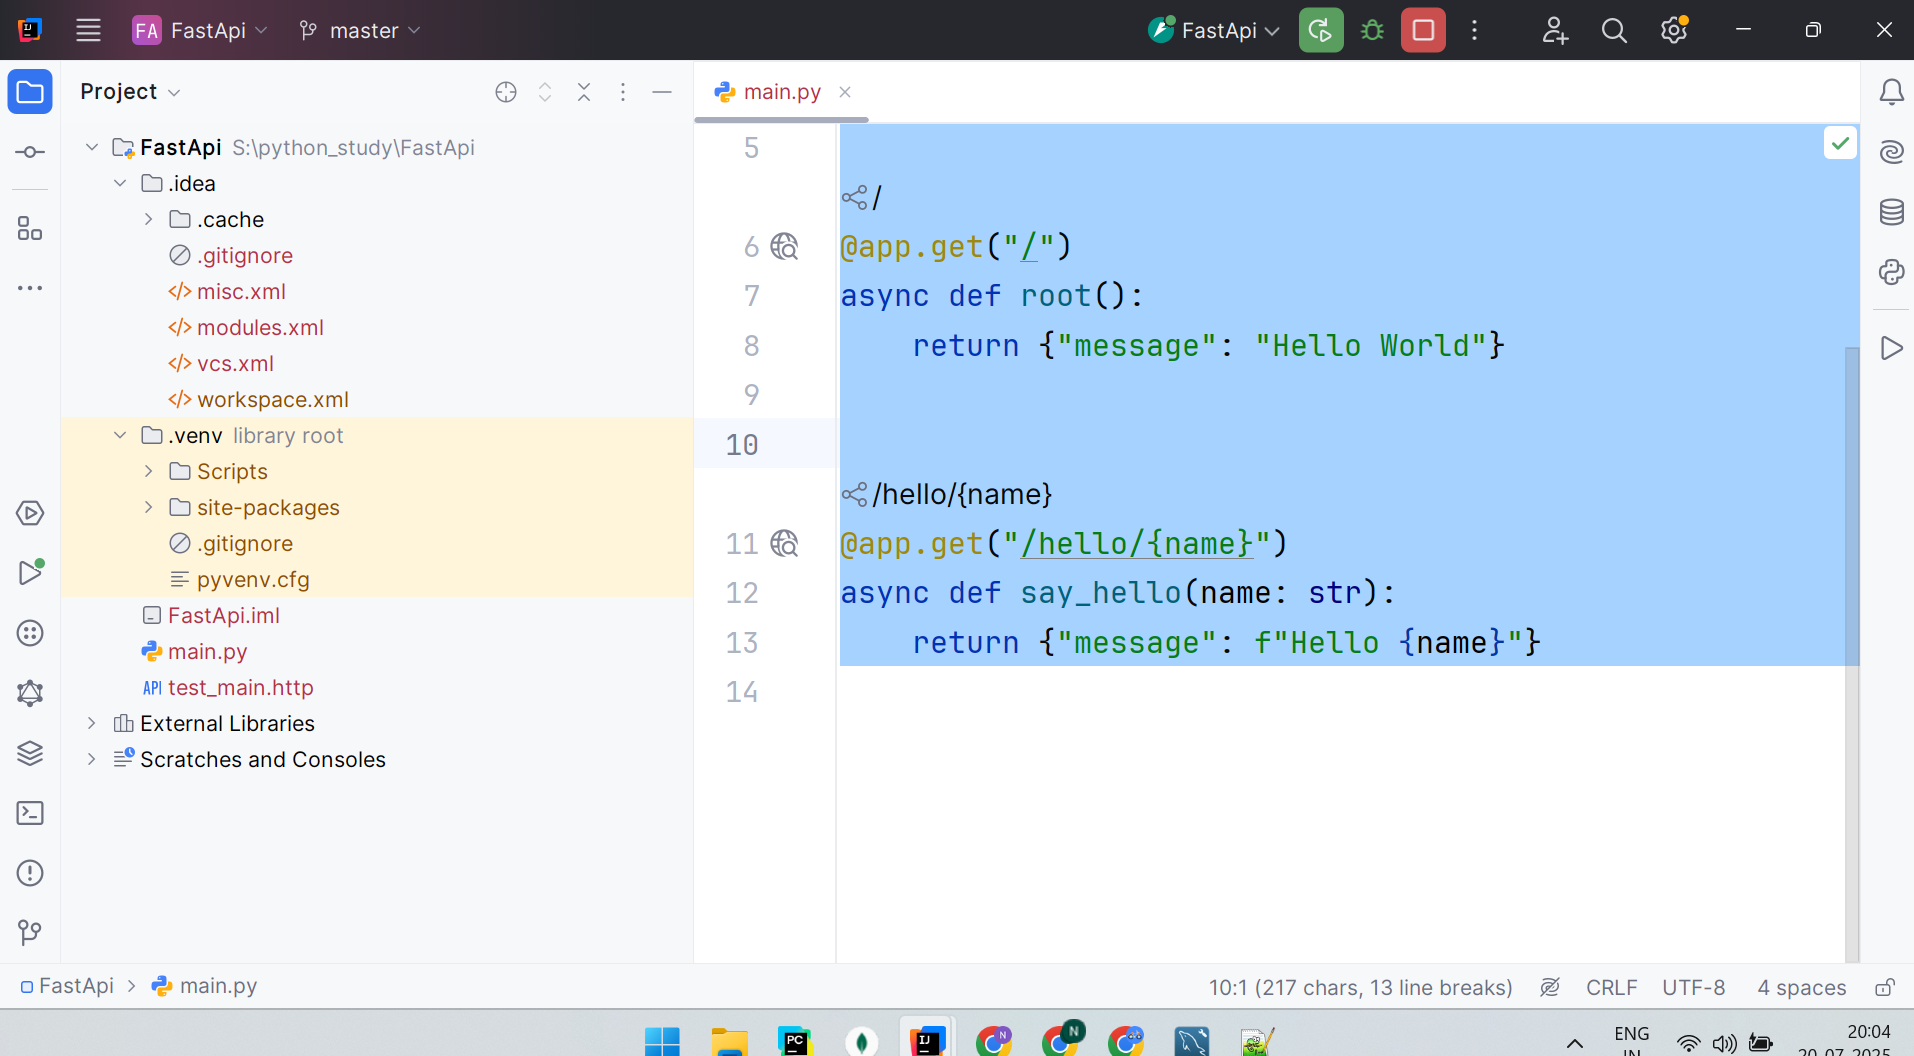
Code Explanation (main.py)
from fastapi import FastAPI
app = FastAPI()
uvicorn uses to serve requests.@app.get("/")
async def root():
return {"message": "Hello World"}
@app.get("/"): Declares an endpoint for GET requests to /async def root(): Async function that runs when / is hit{"message": "Hello World"}
@app.get("/hello/{name}")
async def say_hello(name: str):
return {"message": f"Hello {name}"}
/hello/{name}: Dynamic URL where {name} is a path parameter/hello/Rahul, FastAPI passes "Rahul" to the name parameter"Hello Rahul"curl http://localhost:8000/hello/Rahul
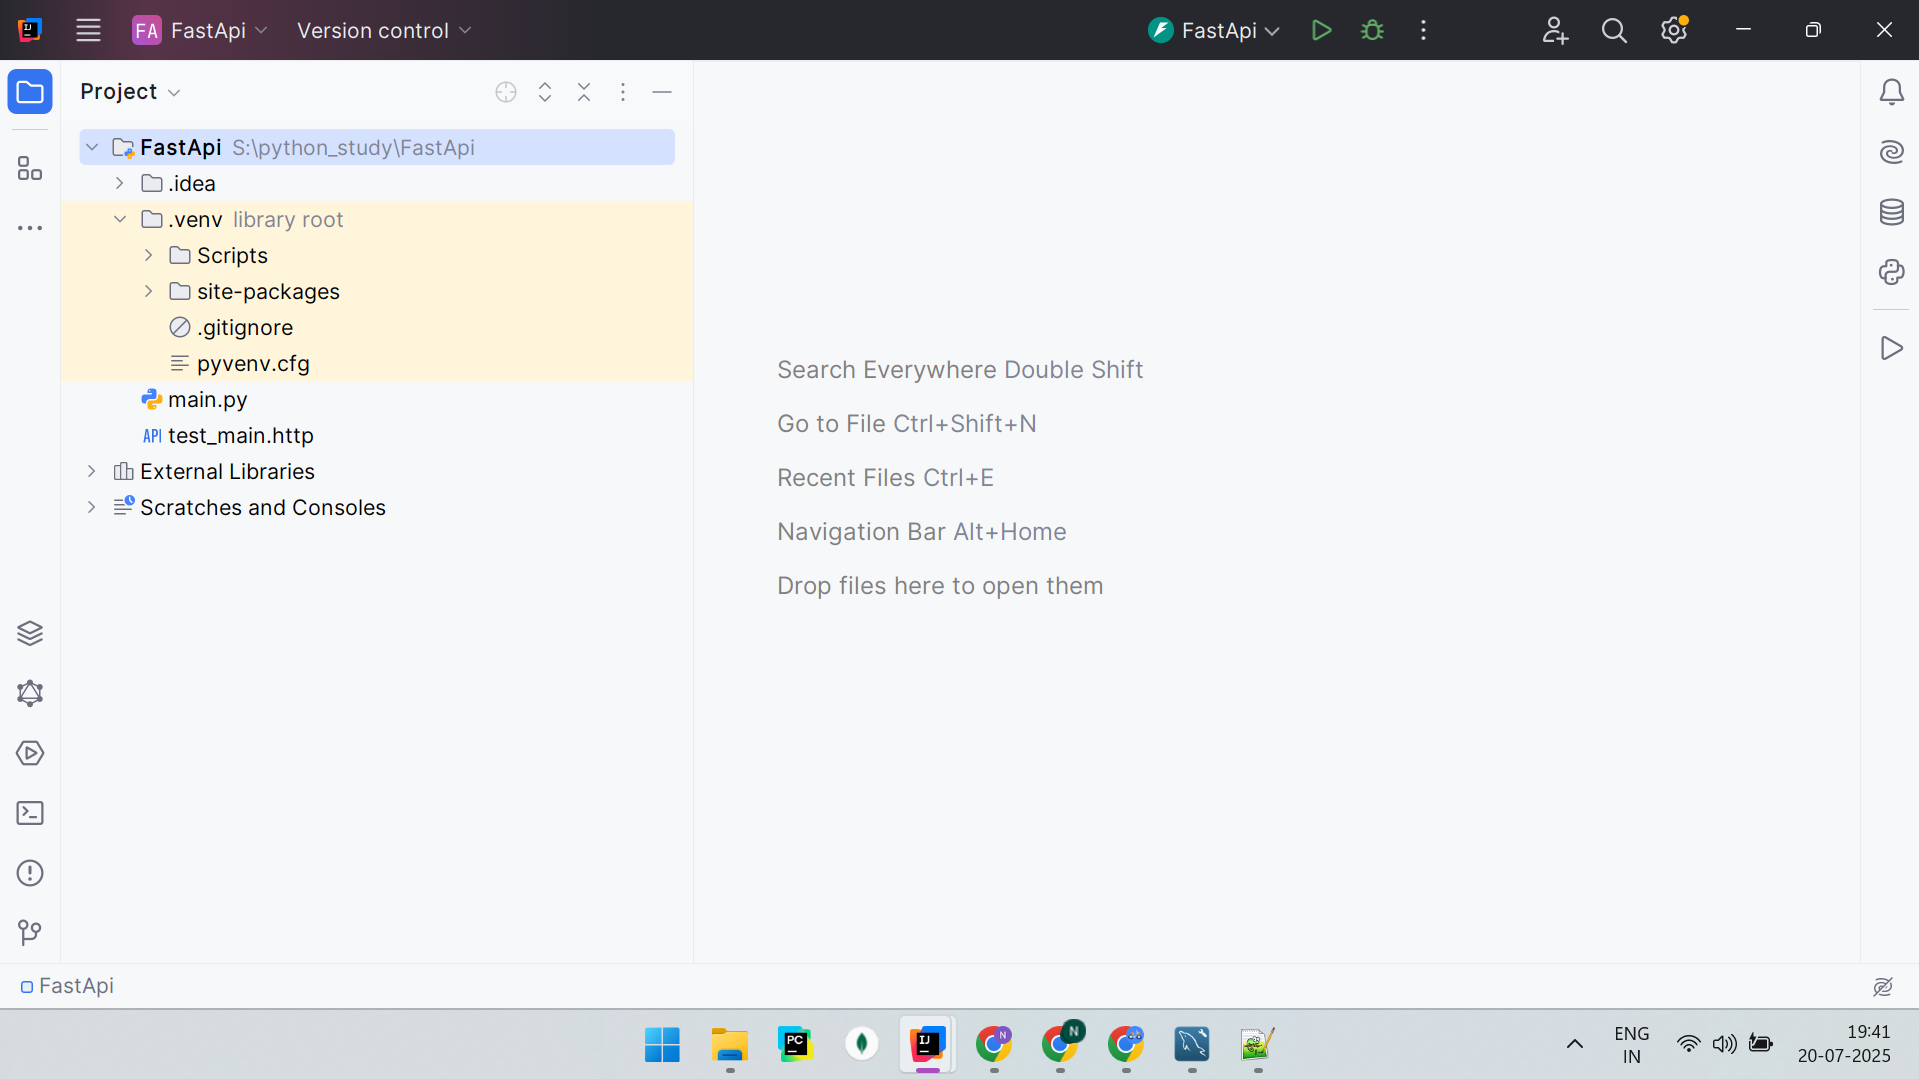
Project Structure from Screenshot
FastApi
├── .idea/
├── .venv/
├── main.py
├── FastApi.iml
├── test_main.http
├── External Libraries
├── Scratches and Consoles
.idea/modules.xml, workspace.xml help PyCharm manage your environment You can ignore or .gitignore this folder in production code.
.venv/Scripts/: your Python binary and activate scriptsite-packages/: all your installed Python packages (FastAPI, Uvicorn, etc.)This is where your dependencies live.
main.pyYou start the app using:
uvicorn main:app --reload
FastApi.imlNot needed outside of PyCharm.
test_main.httpExample inside it:
### Get root endpoint
GET http://localhost:8000/
### Hello endpoint
GET http://localhost:8000/hello/Roman
Then click the ▶ button above each request in the .http file to run it.
External Libraries.venv/site-packages
Scratches and Consoles
To change the port number when running your FastAPI app, you simply pass the --port argument to the uvicorn command.
uvicorn main:app --reload
Custom Port (e.g. 8080):
uvicorn main:app --reload --port 8080
Now your app will run at:
http://localhost:8080/
If you’re running FastAPI using PyCharm’s green Run button (like in your screenshot):
main, look for the Parameters field.
Change Host IP:
uvicorn main:app --reload --host 0.0.0.0 --port 8080
If 8080 gives Connection Refused:
You can check which port is used with:
netstat -a -n -o | findstr :8080
FastAPI port number configurable using a .env file and config.py
FastApi/
├── main.py
├── config.py ← Load env vars
├── .env ← Your config values
├── requirements.txt
└── ...
Create a .env file in the root:
HOST=127.0.0.1
PORT=8085
RELOAD=True
config.py File
from pydantic import BaseSettings
class Settings(BaseSettings):
host: str = "127.0.0.1"
port: int = 8000
reload: bool = True
class Config:
env_file = ".env"
settings = Settings()
ain.py (use the app only)
from fastapi import FastAPI
app = FastAPI()
@app.get("/")
async def root():
return {"message": "Hello World"}
No need to use settings in main.py. Just keep it clean.
Run Uvicorn Using the Config
python -c "import uvicorn; from config import settings; uvicorn.run('main:app', host=settings.host, port=settings.port, reload=settings.reload)"
Or add a script to your run.py:
from config import settings
import uvicorn
if __name__ == "__main__":
uvicorn.run("main:app", host=settings.host, port=settings.port, reload=settings.reload)
python run.py
→ Rest check on github repo due to space concerns , using git repo as public repo.
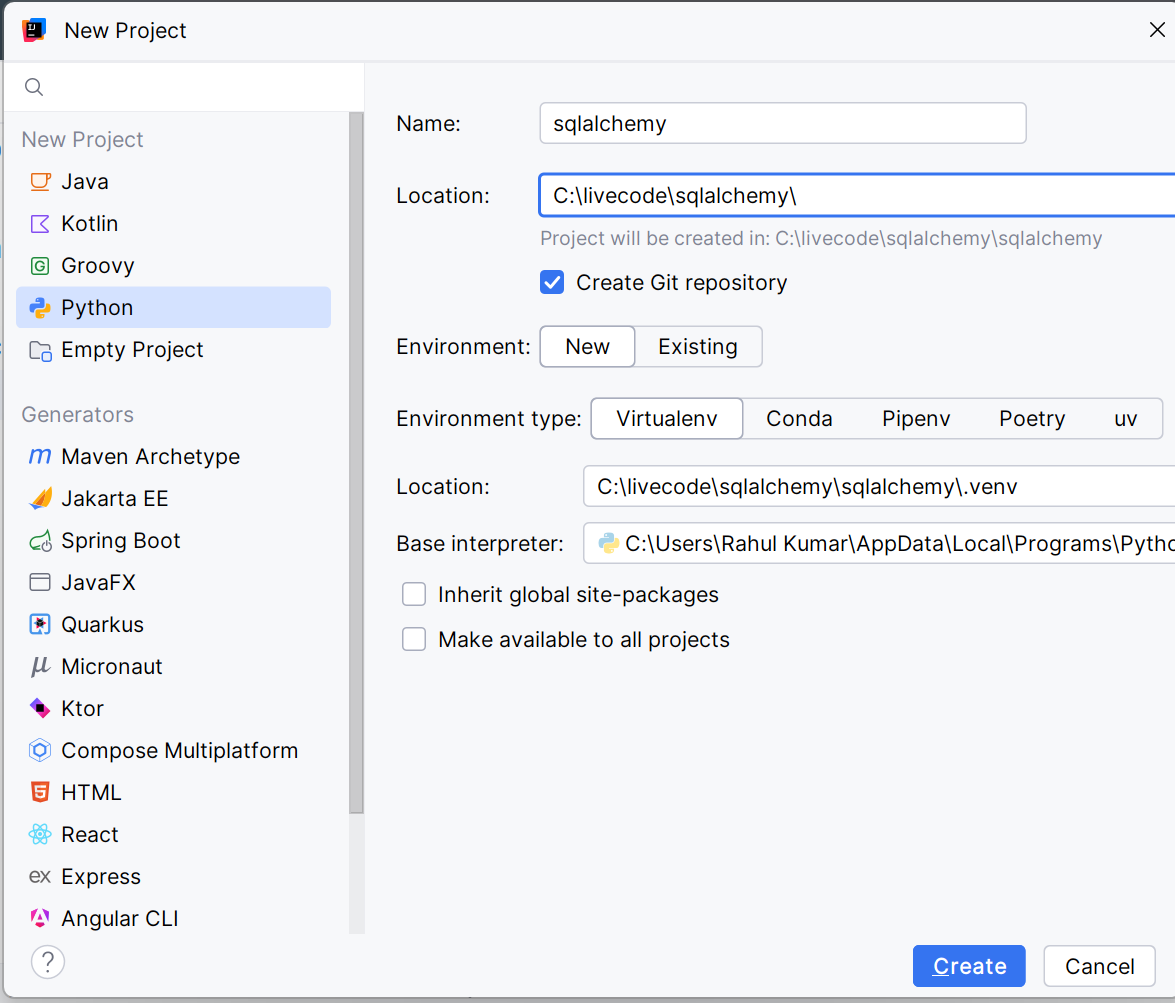
complete guide to setting up and working with SQLAlchemy 2.0 (declarative model style) using IntelliJ IDEA, including:
settings.yml
Make sure you have:
pip configured
Required Packages
pip install sqlalchemy==2.0.*
pip install pymysql # for MySQL
pip install pydantic
pip install pyyaml
pip install databases # for async
pip install motor # for MongoDB async
pip install pymongo # for MongoDB sync
Project Structure:
your_project/
│
├── db/
│ ├── models.py
│ ├── database.py
│ └── settings.yml
│
├── schemas/
│ └── user.py
│
├── main.py
└── utils/
└── config_loader.py
Step 1: settings.yml
mysql:
user: root
password: root
host: localhost
port: 3306
database: test_db
mongodb:
uri: "mongodb://localhost:27017"
database: test_mongo
Step 2: Load YAML Config (config_loader.py)
import yaml
from pathlib import Path
def load_settings(file_path="db/settings.yml"):
with open(Path(file_path), "r") as f:
return yaml.safe_load(f)
settings = load_settings()
Step 3: MySQL + SQLAlchemy 2.0
from sqlalchemy import create_engine
from sqlalchemy.orm import sessionmaker, DeclarativeBase
from utils.config_loader import settings
class Base(DeclarativeBase):
pass
MYSQL_URL = (
f"mysql+pymysql://{settings['mysql']['user']}:"
f"{settings['mysql']['password']}@"
f"{settings['mysql']['host']}:"
f"{settings['mysql']['port']}/"
f"{settings['mysql']['database']}"
)
engine = create_engine(MYSQL_URL, echo=True)
SessionLocal = sessionmaker(bind=engine)
Step 4: Define Models (models.py)
from sqlalchemy import Column, Integer, String
from db.database import Base
class User(Base):
__tablename__ = "users"
id = Column(Integer, primary_key=True, index=True)
name = Column(String(50))
email = Column(String(100), unique=True, index=True)
Step 5: Create Tables
Step 6: Pydantic Integration (schemas/user.py)
from pydantic import BaseModel, EmailStr
class UserCreate(BaseModel):
name: str
email: EmailStr
class UserRead(UserCreate):
id: int
class Config:
orm_mode = True
Step 7: Basic CRUD Example (main.py)
from db.database import SessionLocal
from db.models import User
from schemas.user import UserCreate
def create_user(user: UserCreate):
db = SessionLocal()
db_user = User(name=user.name, email=user.email)
db.add(db_user)
db.commit()
db.refresh(db_user)
db.close()
return db_user
new_user = UserCreate(name="Nitesh", email="nitesh@test.com")
print(create_user(new_user))
Async Setup
from sqlalchemy.ext.asyncio import create_async_engine, async_sessionmaker
from sqlalchemy.orm import DeclarativeBase
from utils.config_loader import settings
class Base(DeclarativeBase):
pass
ASYNC_MYSQL_URL = (
f"mysql+aiomysql://{settings['mysql']['user']}:"
f"{settings['mysql']['password']}@"
f"{settings['mysql']['host']}:"
f"{settings['mysql']['port']}/"
f"{settings['mysql']['database']}"
)
async_engine = create_async_engine(ASYNC_MYSQL_URL, echo=True)
AsyncSessionLocal = async_sessionmaker(bind=async_engine, expire_on_commit=False)
from pymongo import MongoClient
from utils.config_loader import settings
mongo_client = MongoClient(settings["mongodb"]["uri"])
mongo_db = mongo_client[settings["mongodb"]["database"]]
users_collection = mongo_db["users"]
# Insert
users_collection.insert_one({"name": "Nitesh", "email": "me@a.in"})
Async MongoDB (motor)
import motor.motor_asyncio
from utils.config_loader import settings
mongo_client = motor.motor_asyncio.AsyncIOMotorClient(settings["mongodb"]["uri"])
mongo_db = mongo_client[settings["mongodb"]["database"]]
async def insert_user():
await mongo_db["users"].insert_one({"name": "Async Nitesh", "email": "async@test.com"})
Sync vs Async SQLAlchemy
| Feature | Sync (Default SQLAlchemy) | Async (via asyncio) |
|---|---|---|
| Engine | create_engine | create_async_engine |
| Session | sessionmaker | async_sessionmaker |
| Performance (I/O bound) | Lower (blocks event loop) | Higher (non-blocking) |
| Use case | Fast prototyping, simple APIs | High-load APIs, async frameworks |
| Framework Support | Works with Flask, FastAPI | Best with FastAPI/Quart |
poetry/pipenv.db/, schemas/, etc.).settings.yml → Mark as Resource Root.main.py directly via IntelliJ run configuration.
pip install sqlalchemy pymysql pydantic pyyaml pymongo motor databases
If you're using MySQL and MongoDB, this installs both sets of drivers.
Your email address will not be published. Required fields are marked *